
How Do Cat-Eye Nails Actually Work?
“Is it magnetic?”
This is probably one of the questions I’m asked most often when I’m doing cat-eye nails on a client. If you’ve never seen cat-eye gel being applied before, you could easily assume it’s simply a very sparkly gel polish. Some of my clients don’t realise there’s anything different about the product at all, until I bring out the magnet.
Because the shimmer you see moving across a cat-eye nail isn’t just glitter, and the finished effect isn’t created by the gel alone. The secret is the magnet.
So, what actually is cat-eye gel?
Cat-eye gel contains tiny cosmetic-grade magnetic pigment particles suspended within the gel. These are pigments specifically manufactured for use in cosmetic products.
When the gel is painted onto the nail, a magnet held close to the uncured product creates a magnetic field that moves and concentrates those particles. Your nail technician can manipulate where the shimmer sits by changing the position and angle of the magnet. Once the desired effect has been created, the nail is cured in the lamp, fixing everything in place. That’s also why cat-eye can appear to move when you move your hand.
The particles aren’t still moving around once your nails have been cured. It’s the way the finished effect catches and reflects the light from different angles that creates that shifting, dimensional appearance.
Cat-eye isn’t just one look
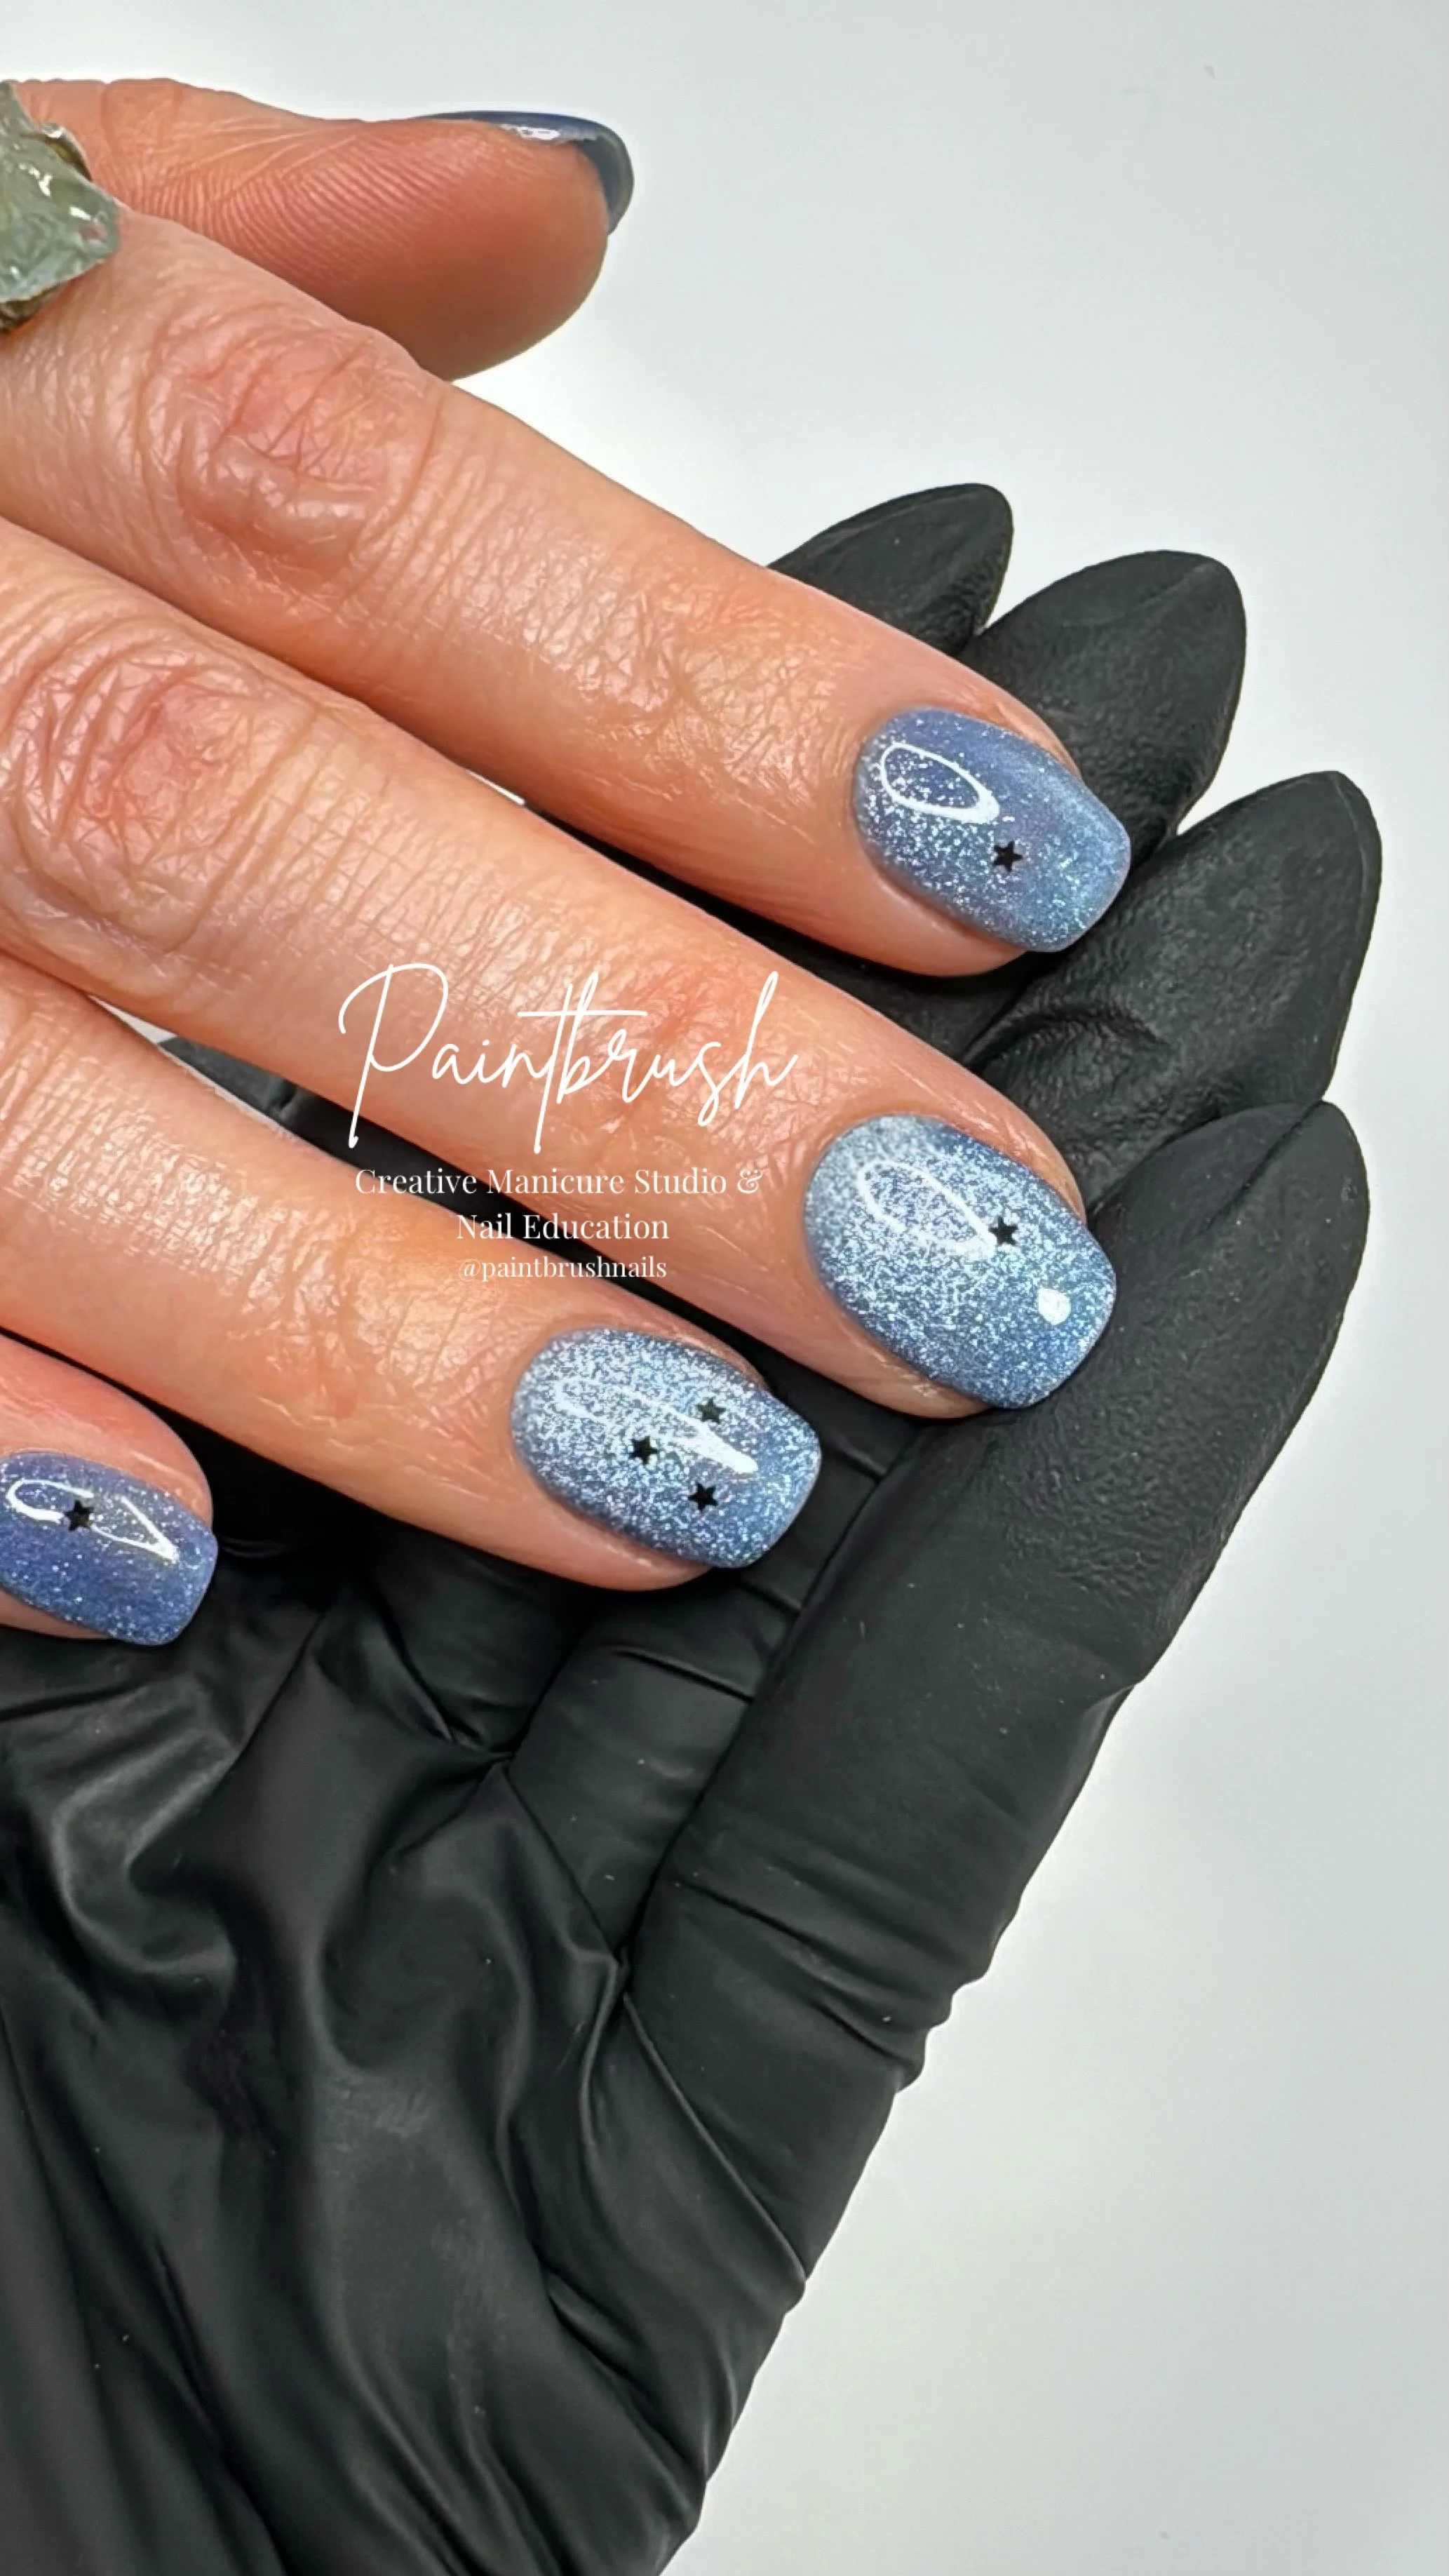
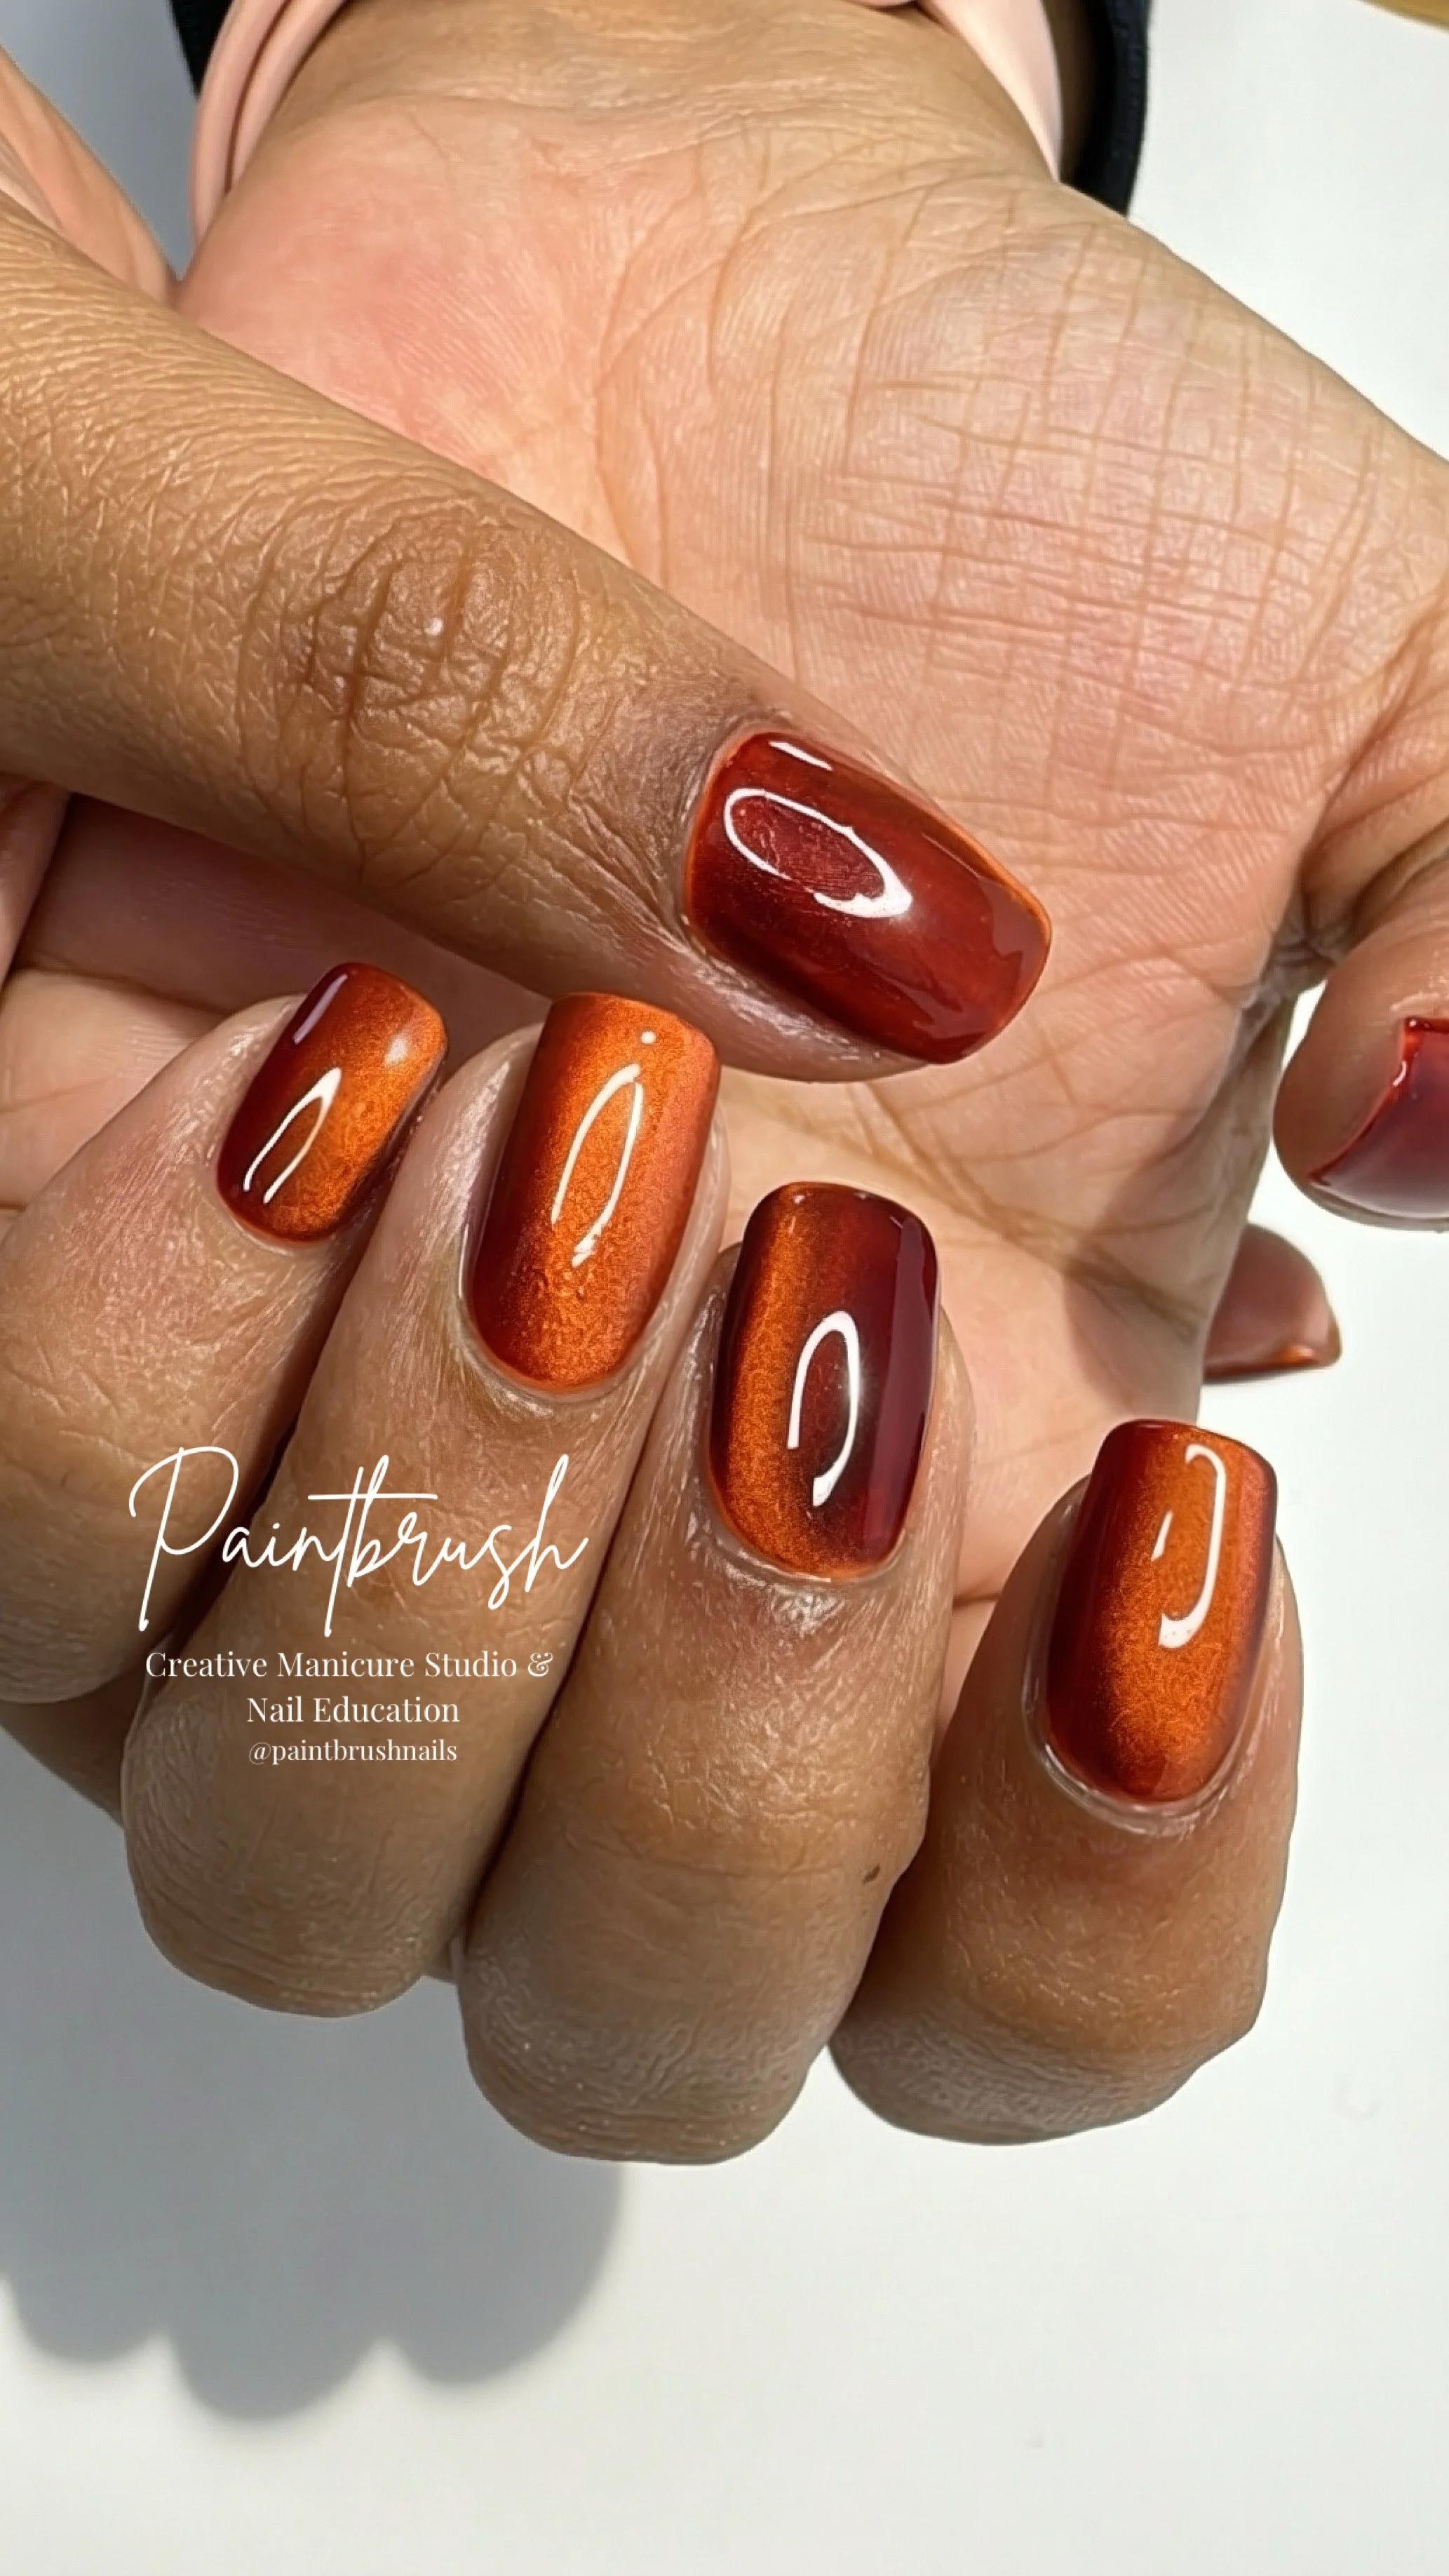
This is probably my favourite thing about cat-eye gel. The original cat-eye effect is a defined diagonal line of shimmer running through the nail, resembling the reflective line you see in a cat’s eye, hence the name.
But that’s only one way of using it. By changing the position, angle and type of magnet, you can manipulate those particles in completely different ways. One bottle of cat-eye can therefore create far more looks than you might initially expect.
You can create things like:
● the classic cat-eye line
● a soft, all-over velvet effect
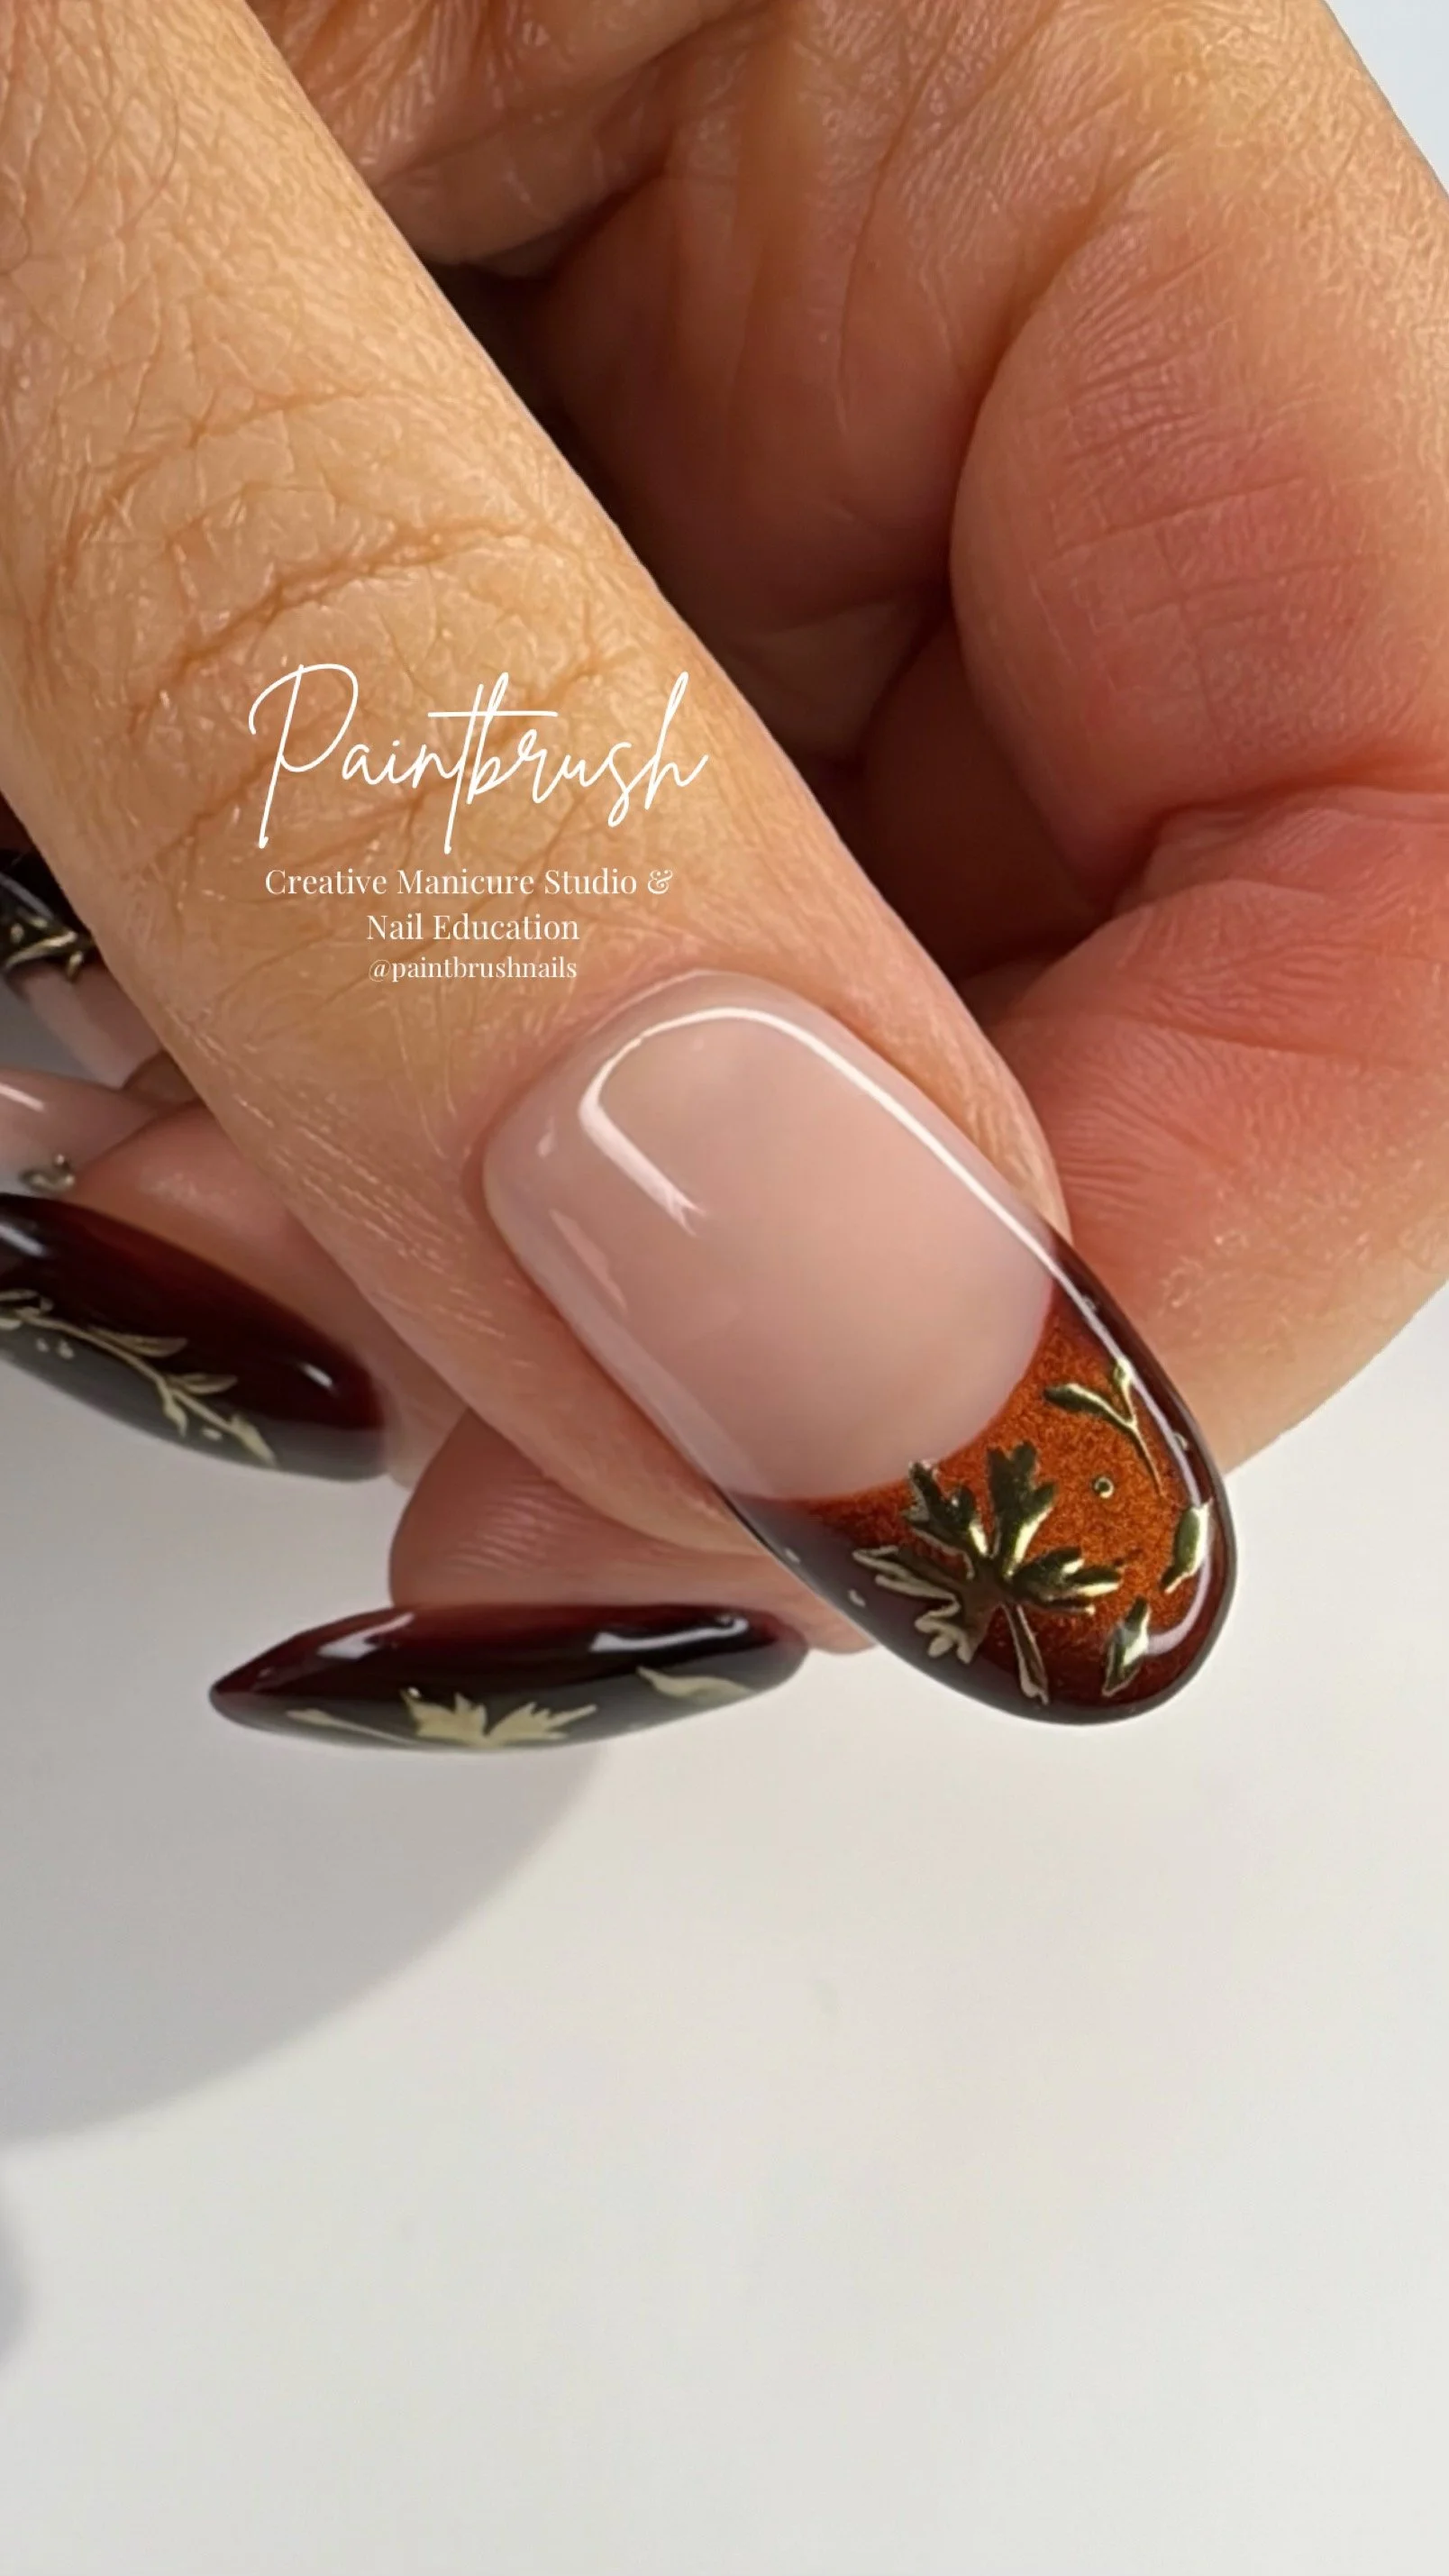
● cat-eye French tips
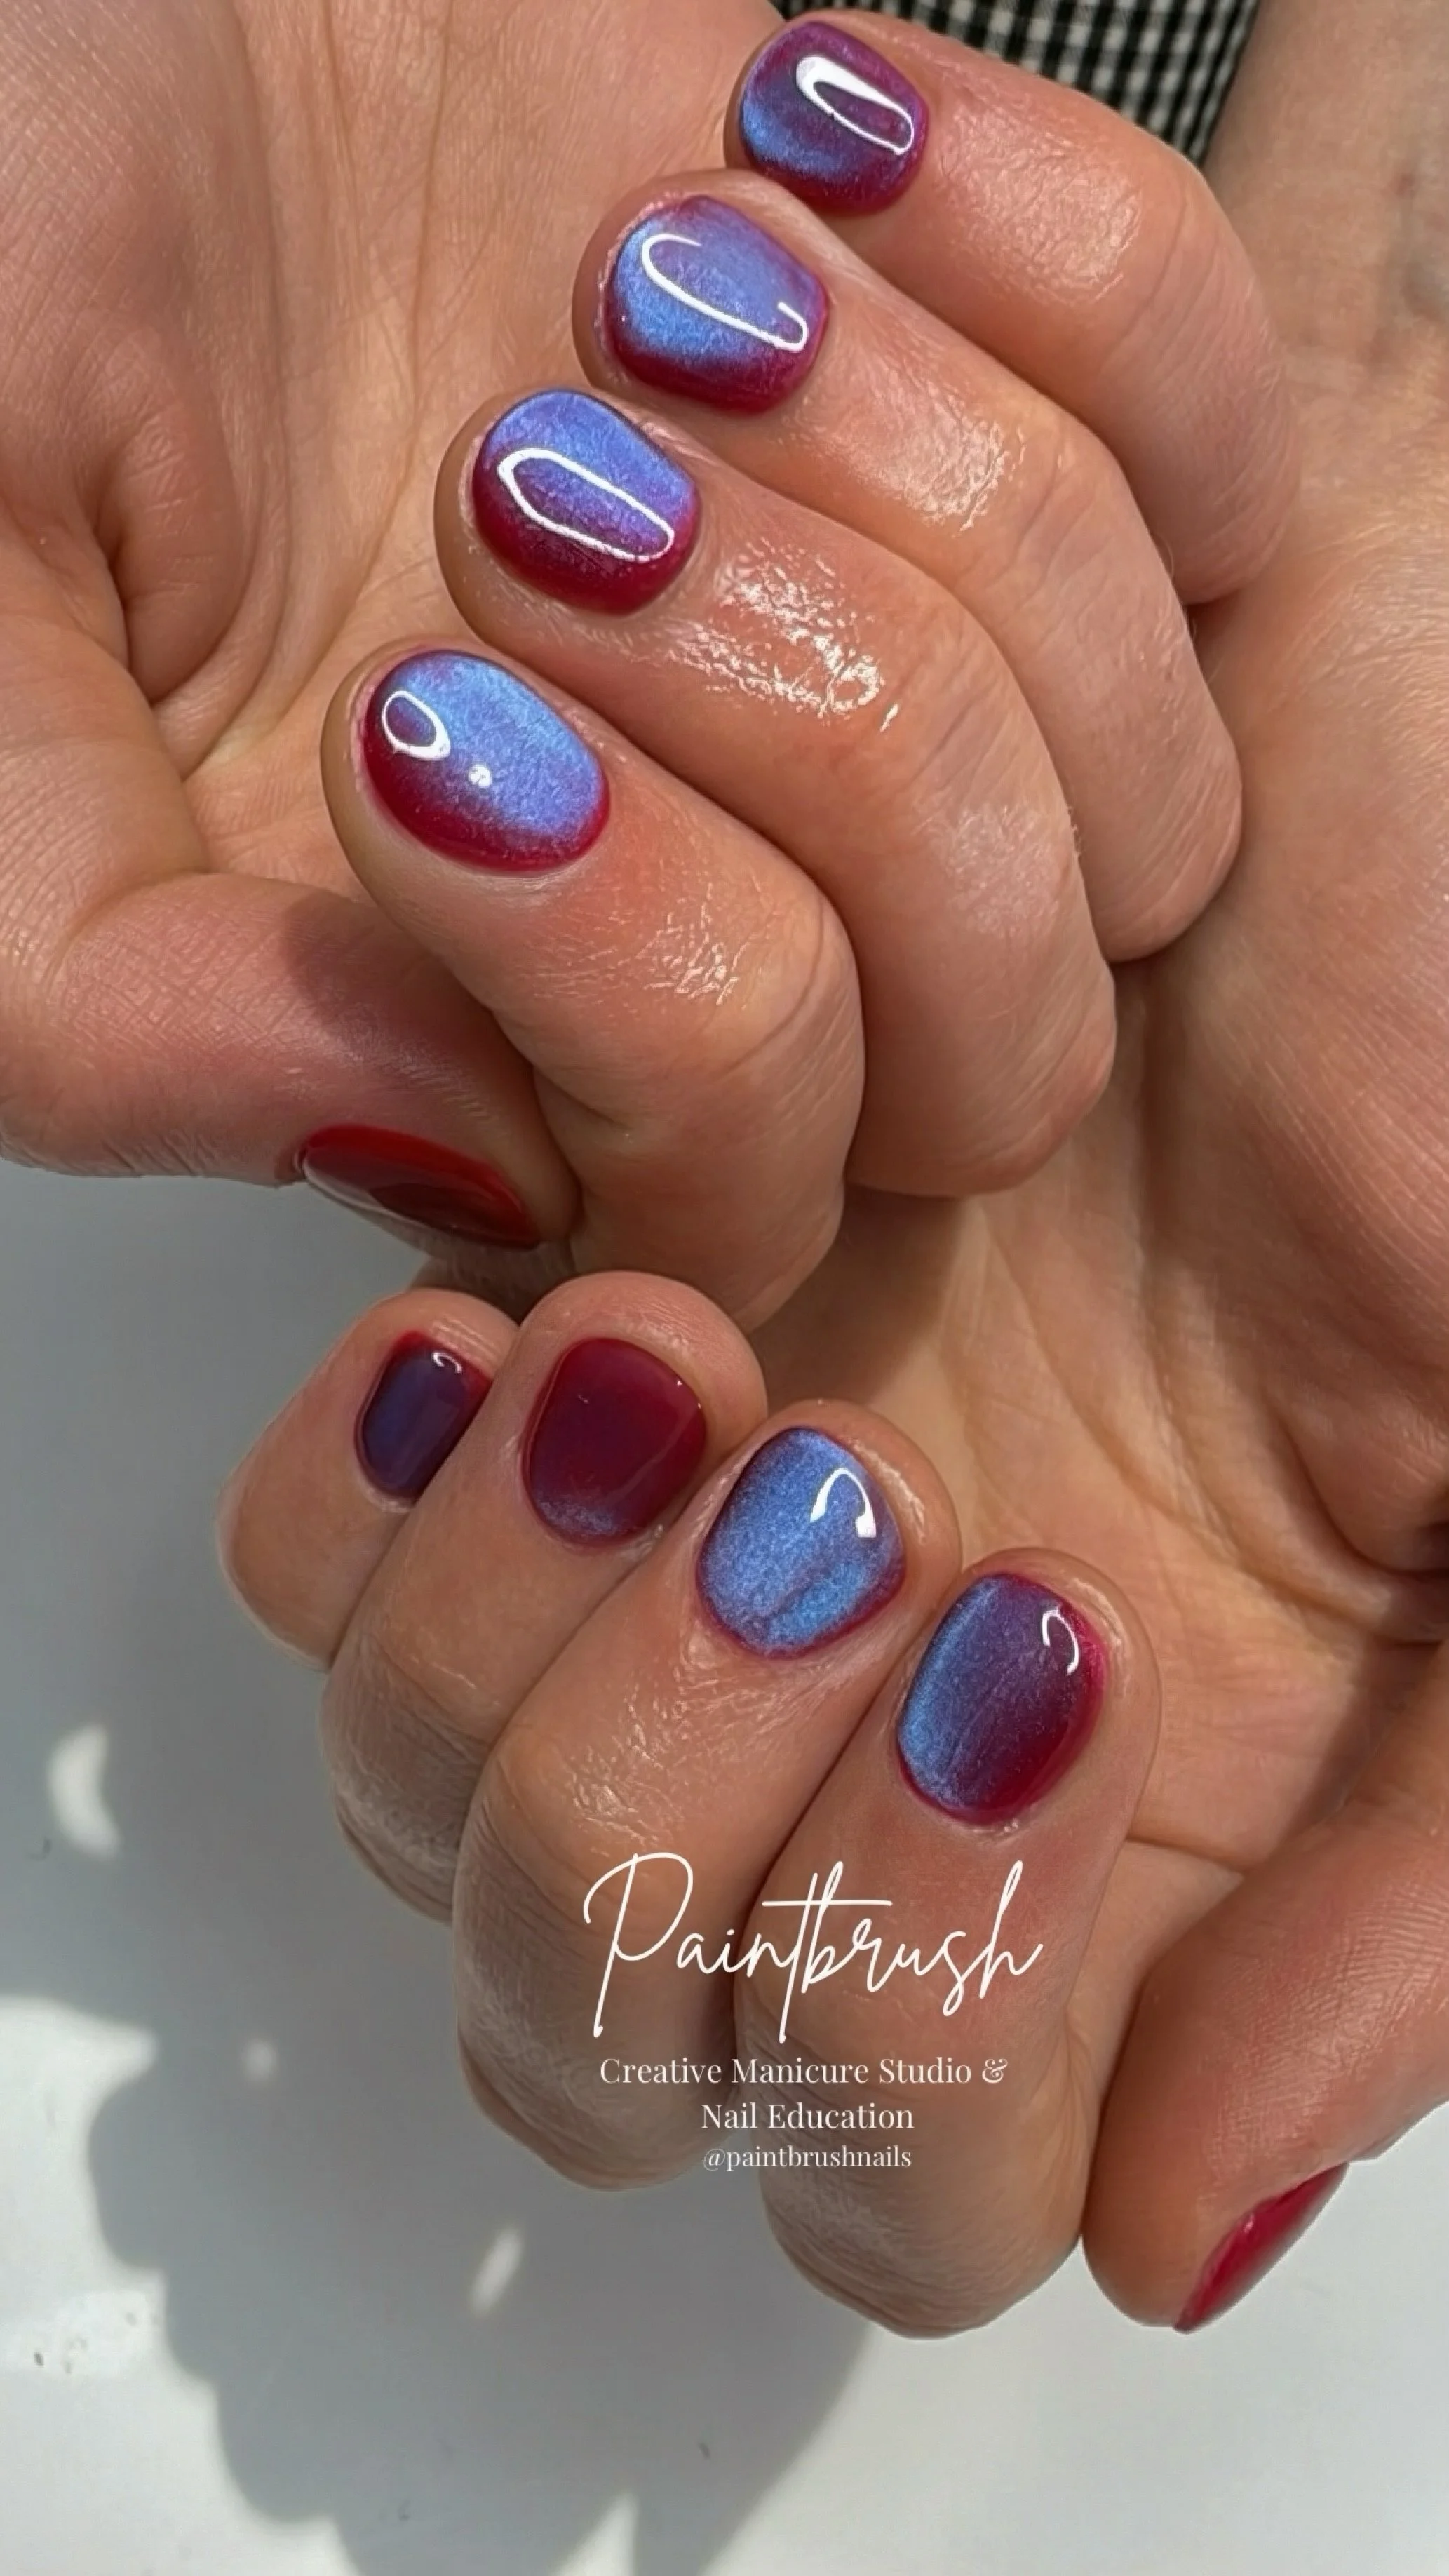
● a central glow or aura-style effect
● curved or rippled patterns
● magnetic hearts and other shapes
● a diffused shimmer
● a concentrated flash of light
The velvet effect in particular always seems to become popular again during autumn and winter. Instead of creating one obvious line, the magnetic particles are manipulated to give the whole nail a soft, dimensional glow that almost looks like velvet as the hand moves.
Magnetic hearts are another good example. They became a huge trend around Valentine’s Day, using clever magnet placement to manipulate the shimmer into a heart shape. It’s the same basic type of gel, you’re just changing what you do with it.
Different magnets create different effects
There isn’t just one type of cat-eye magnet either. You’ll see nail techs using traditional rectangular bar magnets, cylinder magnets, larger magnets for creating velvet effects, horseshoe-style magnets, small bead magnets, the list is endless. You’ll also see nail artists experimenting with other metal objects alongside their magnets, things such as paper clips or scissors to alter the magnetic field and see what patterns they can create.
You can use more than one magnet together too. Different shapes, arrangements and positions influence how the magnetic particles move, which means changing the tool or technique can completely change the finished nail. And there is definitely a knack to it. Sometimes you’ll create exactly the effect you wanted almost immediately. Other times you’ll get one nail perfect and then spend considerably longer trying to make the next one match it!
The good thing is that until the gel has been cured, you can generally manipulate it again. If I don’t like the effect I’ve created, I can move the particles around and have another go before the nail goes into the lamp.
Layering completely changes the result
Cat-eye doesn’t necessarily have to be worn on its own and the cat-eye doesn’t even have to be the final colour you apply. One of the easiest ways to get more from a cat-eye gel is to experiment with layering. You can apply it over black, a coordinating block colour, a contrasting colour or a sheer or jelly gel. Changing the colour underneath can make the same cat-eye gel look completely different.
But you can also reverse that idea. For example, you could use a silver or white cat-eye, create your magnetic effect and cure it, then layer a sheer jelly colour over the top. You still see the movement and dimension from the cat-eye underneath, but the jelly transforms the overall colour. Layering in this way can create much more depth. Instead of the colour looking as though it’s simply sitting on top of the nail, you can create a glassy, dimensional effect that changes as it catches the light.
This is something I encourage nail techs to experiment with before assuming they need to buy another colour. If you already own a cat-eye gel, try it over the colours you already have. Try putting different sheer colours over it too. You might find you’ve actually got far more options in that one bottle than you realised.
Cat-eye makes a good background for nail art
Cat-eye doesn’t have to be the finished design either. It can make a really interesting background for nail art because you’ve already got that movement and dimension underneath whatever you add on top. For autumn and winter, I particularly like animal prints such as leopard or zebra over cat-eye. You could also add flowers, fine-line details, French tips or other hand-painted designs.
It gives you another layer to the design without necessarily making the actual nail art more complicated. But equally, you don’t need to add anything. If you’re someone who normally chooses plain colours, cat-eye can be a really easy way to elevate a simple manicure without suddenly having elaborate nail art on every finger. You still have what essentially feels like a single-colour manicure, it just does something a little more interesting when it catches the light.
Is having cat-eye gel different from a normal gel manicure?
Not dramatically from a client’s point of view. Your nail preparation and the general gel manicure process are much the same. The main difference is the additional cat-eye product and the time spent manipulating it with the magnet before curing. Removal is generally the same as it would be for the gel system being used.
Interestingly, I’ve had clients tell me they feel their cat-eye manicures have been particularly hard-wearing. That’s anecdotal rather than something I’d promise as a benefit of cat-eye obviously lots of different factors affect how well a manicure wears, but it is something I’ve heard from clients more than once.
Should cat-eye nails cost more?
If you’re a nail technician offering cat-eye as an upgrade, I think they should. In my studio, I charge an additional £5 for cat-eye. Although the overall manicure process isn’t dramatically different, you’re not simply swapping one bottle of gel polish for another.
I’m often applying a regular base or colour first and then adding the cat-eye as an additional layer. I then have to manipulate the uncured cat-eye on every nail individually with the magnet before curing it. That takes additional appointment time. There are also the extra products and magnetic tools to buy, and creating consistent effects, particularly more complicated magnetic designs takes practice and skill. So I don’t think cat-eye should automatically be treated in exactly the same way as choosing a standard block colour. You’re charging for the additional product, time and technique involved.
What about cat-eye nails and MRI scans?
This is one practical point I make my clients aware of. Cat-eye gels create their distinctive effect using cosmetic-grade magnetic pigments. Because MRI scanners use extremely powerful magnetic fields, cosmetics containing magnetic or metallic pigments can be relevant during MRI screening and may potentially interfere with the images being produced.
If you have an MRI appointment coming up, tell the MRI department beforehand that you’re wearing magnetic cat-eye gel and follow their advice. Whether they ask you to remove it can depend on factors including the product you’re wearing, the area being scanned and the department’s own safety procedures. I always mention it to my clients simply because I’d rather they know to check beforehand or remove their gel than arrive for an appointment and discover their nail product could be an issue.
For nail techs: experiment before you buy more
Cat-eye is one of those products where learning how to use what you already have can give you far more options than continually buying another bottle. Try the same cat-eye over different colours. Layer a jelly colour over it. Change the angle of your magnet. Try a different magnet. Combine magnets. Create a French. Try a velvet effect instead of the classic line. Add nail art over the top. Play with it.
Some of the most interesting nail art comes from understanding what a product can do, rather than simply buying the newest version of it. And cat-eye is a perfect example.
Want to experiment with cat-eye nail art?
Cat-eye is one of the techniques I use within my seasonal nail art workshops, where the focus isn’t on copying one finished set of nails or buying a long list of specific products. Instead, I teach you the technique behind the design, show you different ways it can be adapted and encourage you to experiment with the colours and products you already own.
About the author
Kirsty Brown is a Scottish nail artist and educator and founder of Paintbrush Nails in Callander, Scotland. A qualified Art & Design teacher with a BA (Hons) from Glasgow School of Art, she combines professional nail expertise with a background in creative education, specialising in nail art, nail education and helping nail professionals develop their technical and creative skills.